Level of Detail
If there’s one domain where Rockstar outperforms the competition, it’s when it comes to LOD. The world of Los Santos exists in so many different versions with more or less details/polygons, everything being streamed live while you play without a blocking loading screen. And it makes the whole experience so much more immersive.
Lights
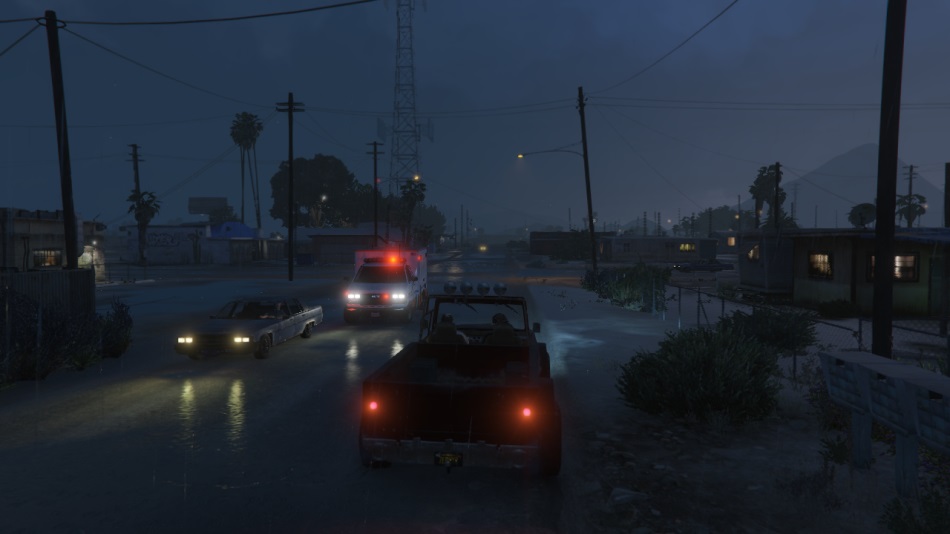
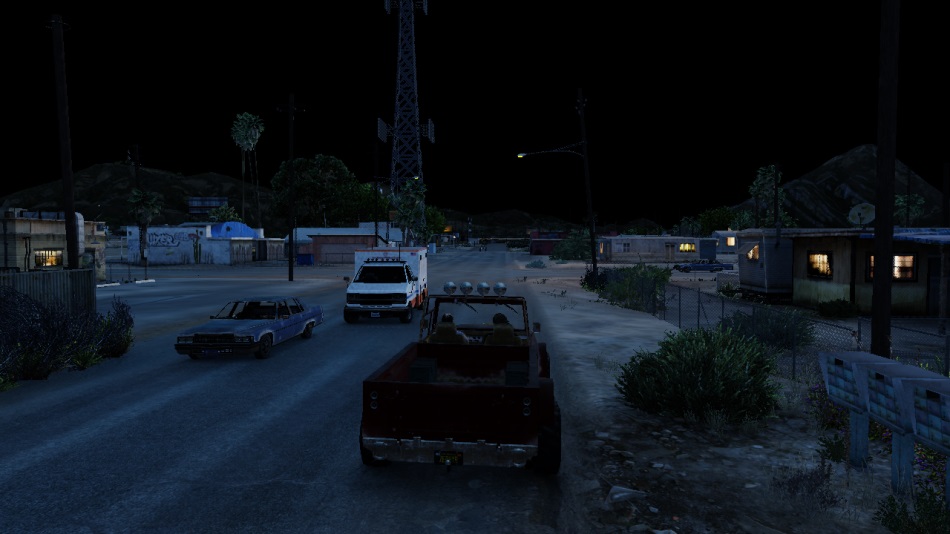
All the little lights you see in the far distance are real, you can drive towards them and find the bulb that casts the light.
This is what Aaron Garbut, one of the Rockstar North founders and art director,
was declaring shortly before the PS3 release.
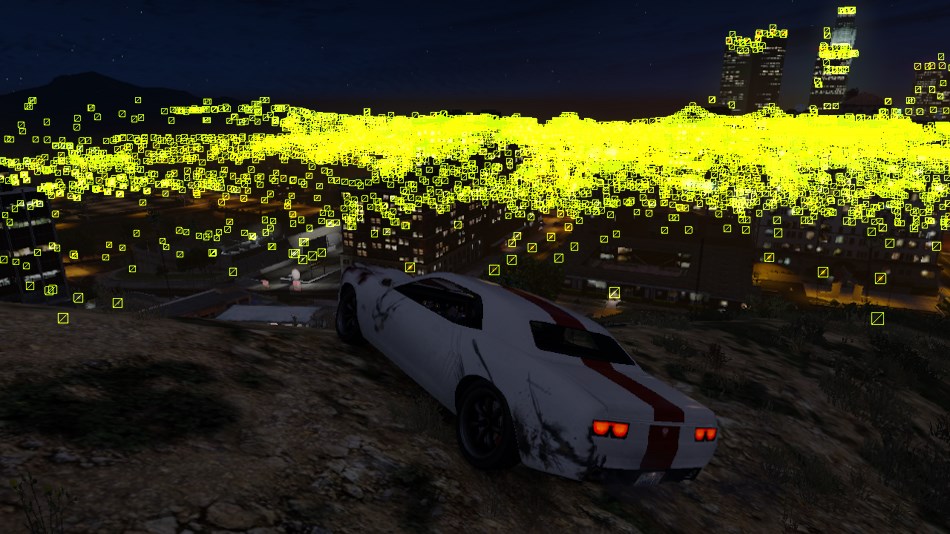
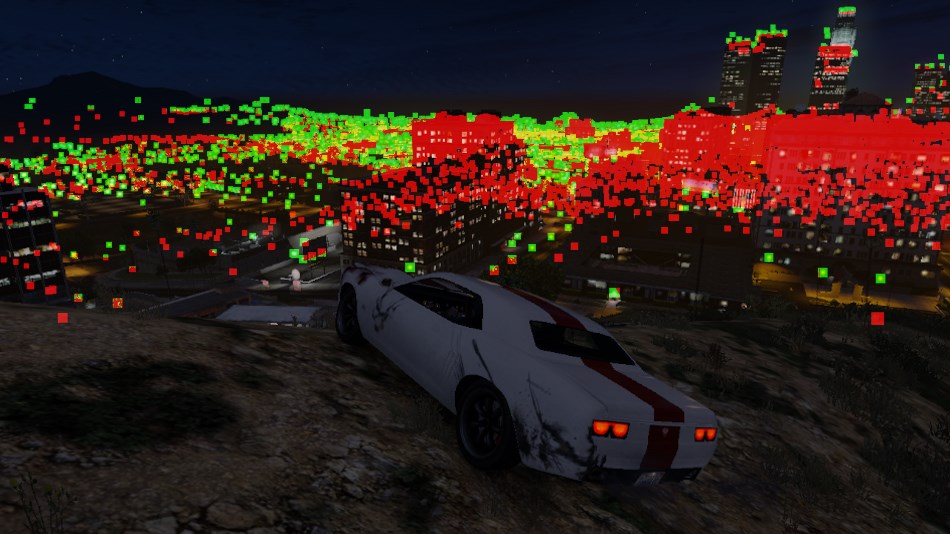
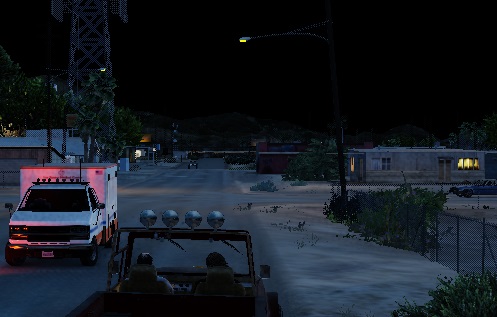
How accurate is his statement? Let’s consider this night scene:

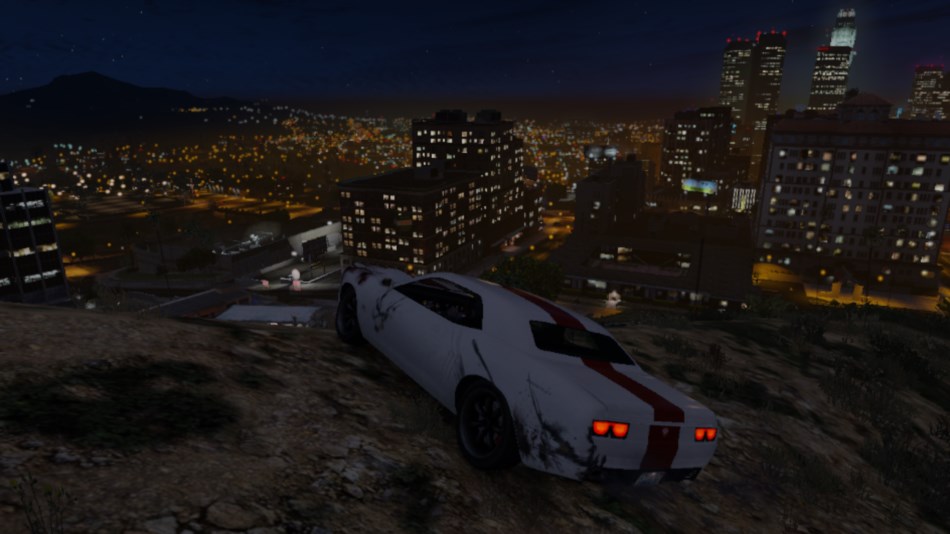
Well it simply is the truth: every single small light spot you can see is a quad rendered with a small 32x32 texture like the one on the right.
They are all heavily batched into instanced geometry but still it represents tens of thousands of polygons pushed to the GPU.
And these are not just static geometry: the car headlights are also moving along the roads, updated in real-time. Of course at this distance, no need to render the full car models, only 2 headlights are enough to create the illusion. But if you decide to go near some distant light, as you come closer, the LOD increases and eventually the full model of the car is drawn.
Low-Poly Meshes
Let’s go back to the frame we dissected previously. Some really vast portions of the world are rendered in a single draw call. For example if we consider the rendering of the hill below:
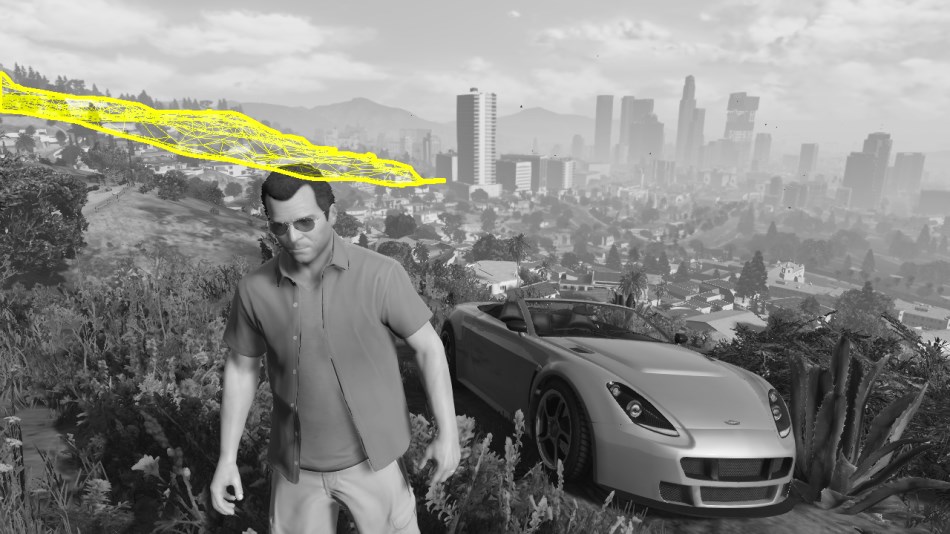
So what exactly is that tiny hill far away?
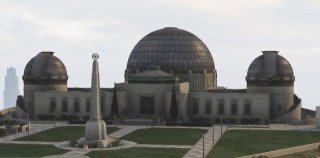
Turns out it’s not small at all, it’s actually Vinewood Hills a big area spanning across several square kilometers, with dozens of houses and buildings.
There’s the Galileo Observatory sitting on the top of the hill, the Sisyphus Theater, Lake Vinewood,
all of these areas which, when you explore them or drive by them, are rendered with thousands of draw-calls and tons of polygons.
But in our case, this zone is far away, so a low-poly version is rendered: a single draw-call pushing only 2500 triangles.
All the rendering is done with a single mesh reading from a diffuse texture. Even if some tools exist to convert a mesh to a lower-poly version, they can’t fully automate the process and I wouldn’t be surprised if the 3D artists at Rockstar spent days fine-tuning the meshes manually.
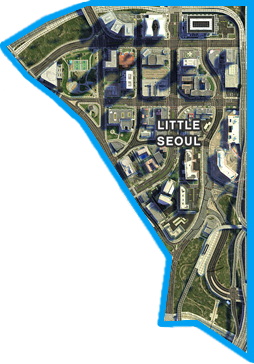
Another example, this time the Little Seoul district accounting for several blocks of the city, rendered with a single draw-call.
Having a low-poly version of the world is extremely useful to render efficiently a reflection cubemap which doesn’t need to be neither very detailed nor high-resolution. For games with a single LOD level rendering such environment cubemaps realtime is very costly or simply impossible because of the high amount of geometry involved.
Asset Streaming
Creating several versions of a world like GTA at different LODs is a huge and time-consuming task, it’s quite a challenge. But even if you reach this goal, you’re still only half-way there: you may have gigabytes of models and textures on your hard-drive but they’re all useless if you can’t figure out a way to load them efficiently in RAM or on the GPU memory.
GTA V streams assets in real-time, loading/unloading models and textures as you move to another area of the map. The really impressive thing is achieving this in real-time while remaining stable for hours.
Technologically the biggest achievement has been squeezing this all into the console’s memory and making it run as smoothly as it does. […] We can stream far more and compress far more into memory, meaning orders of magnitude more detail than we had in GTA 4.
Of course this streaming system has its limitations: for example when you switch character, the camera jumps from one side of the map to another, in this case the streaming system is suddenly overloaded and it is perfectly understandable it needs 5 seconds to sort things out and catch-up. But GTA V handles this transition nicely with a zoom-out/translate/zoom-in animation, it doesn’t feel like a loading screen at all.
When you drive a car normally, the speed you’re moving at is slow enough that the streaming system has enough bandwidth to keep-up with the updates. This is not the case for planes: they are way too fast for the streaming system, that’s why their speed has been greatly reduced on purpose compared to the real-world. When flying, meshes are also drawn at a lower LOD than when walking/driving to relieve the pressure on the streaming, but still there can be some “pop-in” of assets from time to time. On PC a special option has been added in the settings: “High Detail Streaming While Flying”.
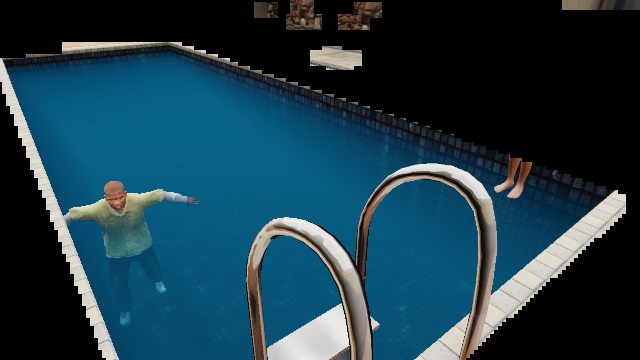
Reflections
Since the frame dissected previously didn’t have so much water, let’s see more closely how a swimming pool or the ocean is rendered with the scene below:
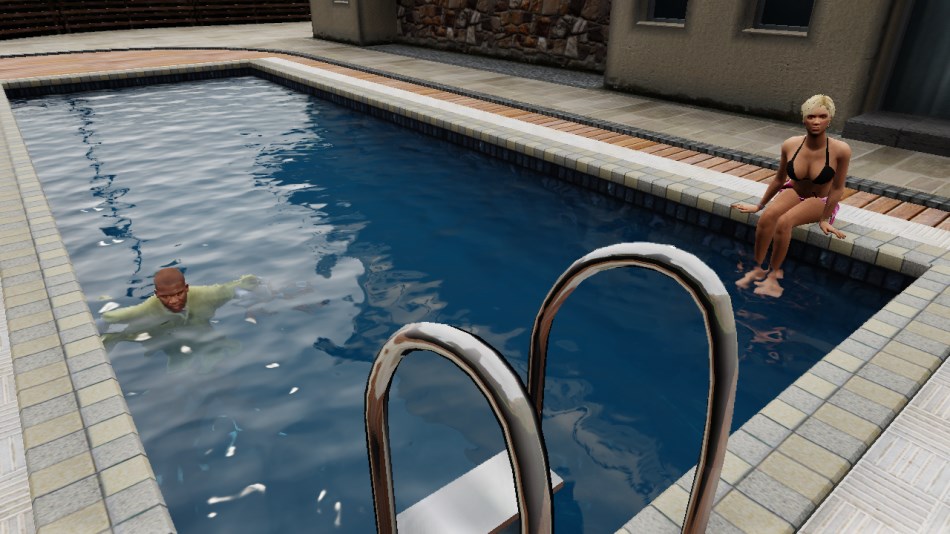
Like we saw previously, the scene is rendered normally: an environment cubemap (see on the right) is generated, it is mainly used when rendering objects which reflect their surroundings.
For example the reflection of the pool ladder is achieved thanks to this cubemap.
Note the absence of characters or small objects like the ladder itself in the cubemap.
This is how the scene looks like just before rendering the water:
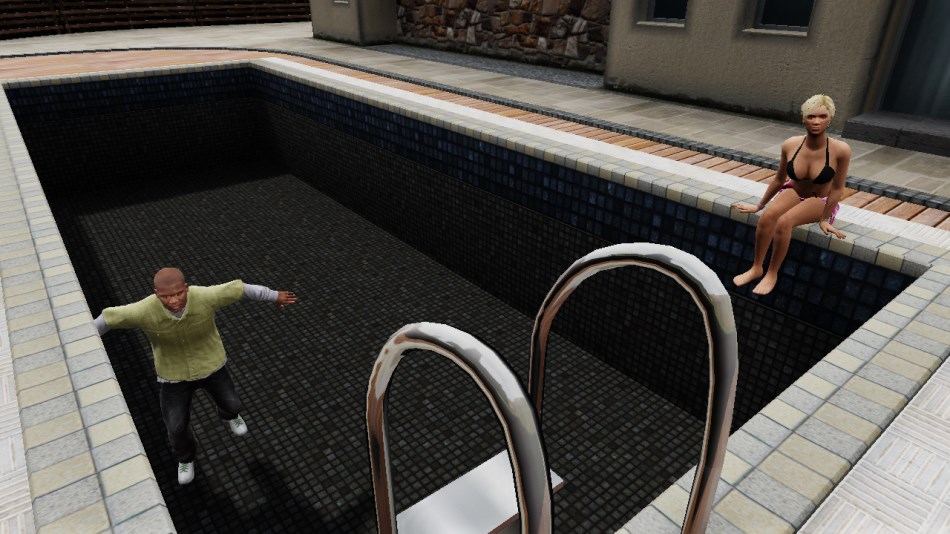
Rendering the water surface is a whole different story, it doesn’t involve the cubemap.
Reflection Map
First, a “planar reflection” map is generated. It is very low-resolution, 240x120, and the process is similar to the one of the cubemap generation but this time just one buffer is generated and the ladder and the characters are present.
The scene is rendered upside-down, later when it is sampled a symmetry is also applied to get the correct reflection.
Refraction Map
A subset of the image is extracted: the portions where the water surface is located in order to create a refraction map. Its goal is to simulate the refraction effect later: the light coming out from under the water surface.
This is when some “water opacity” blue is added (the deeper the stronger the color), as well as caustics. The final map is half the size of the original buffer.
Combination
To combine the different buffers, a rectangular polygon is drawn to represent the pool water surface.
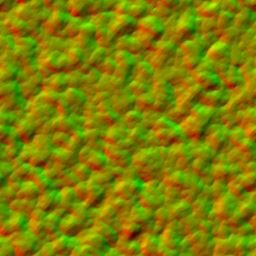
The normals of the polygon are perturbed on a per-pixel basis to create the illusion the water is moving a bit, relying on some bump texture.
In the case of the ocean, it’s not just the normals which are perturbed, instead of a quad, a whole mesh is drawn with the vertices updated at each frame to simulate moving waves.
Based on the normal of each pixel the pixel shader will fetch the reflection and refraction maps at different points, the tap coordinates being calculated through the Fresnel equations.
|
Reflection Map
|
Refraction Map
|
Bump Map
|
The final result is quite nice. Coupled with a realistic perturbation of the water surface the effect is very convincing.
Mirrors
Mirrors are rendered with exactly the same technique as the water, it’s even easier actually since mirrors only reflects light, there is no refraction coming from behind the surface to take into account.

Unlike water, the mirror surface is perfectly flat and still, making it harder to hide the fact it’s pretty low-resolution – texels are quite visible.
Increasing the reflection quality in the settings can give it a higher resolution.
Generating the reflection map requires an extra pass rendering the scene and it can be quite heavy. The engine avoids performing this extra pass if the mirror is not in the viewport, or when the
player is too far away from it (in which case it just appears
as a black quad).
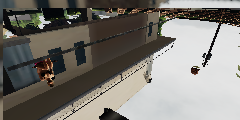
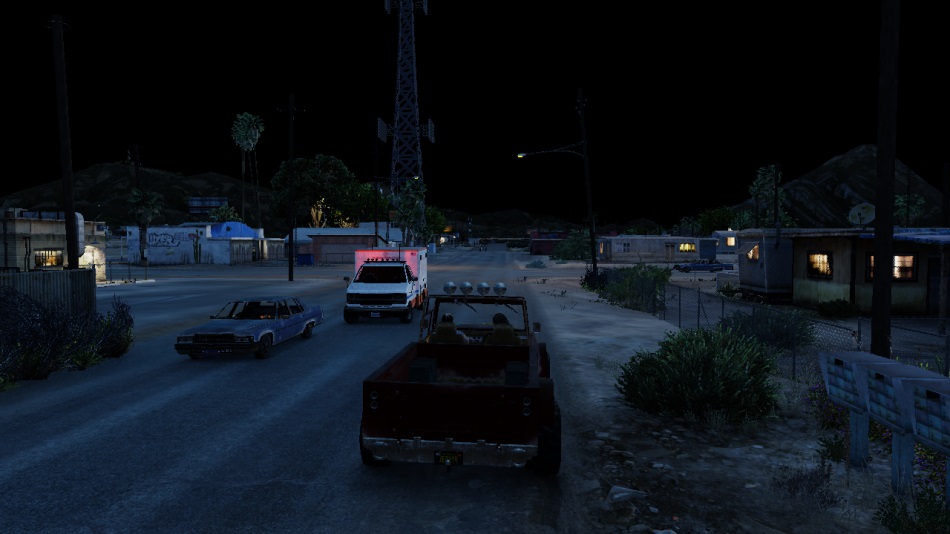
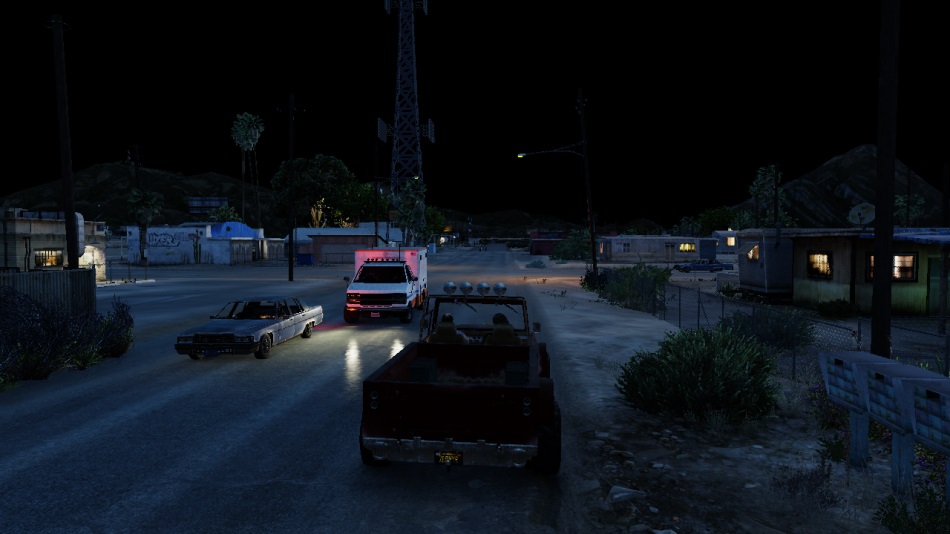
Spotlights
Remember the environment map generated at the beginning of each frame doesn’t contain any character or car, just the main buildings and scenery?
In this case how can the car headlights be reflected on the wet road in the screenshot below?
It was not really obvious in the frame we dissected in Part 1, because it was a day-time scene but actually right after all the G-Buffers have been combined, the lights are drawn one by one. For each bulb, the light cast on the other meshes is calculated, including the strong reflection highlights on surfaces with high glossiness like the wet road.
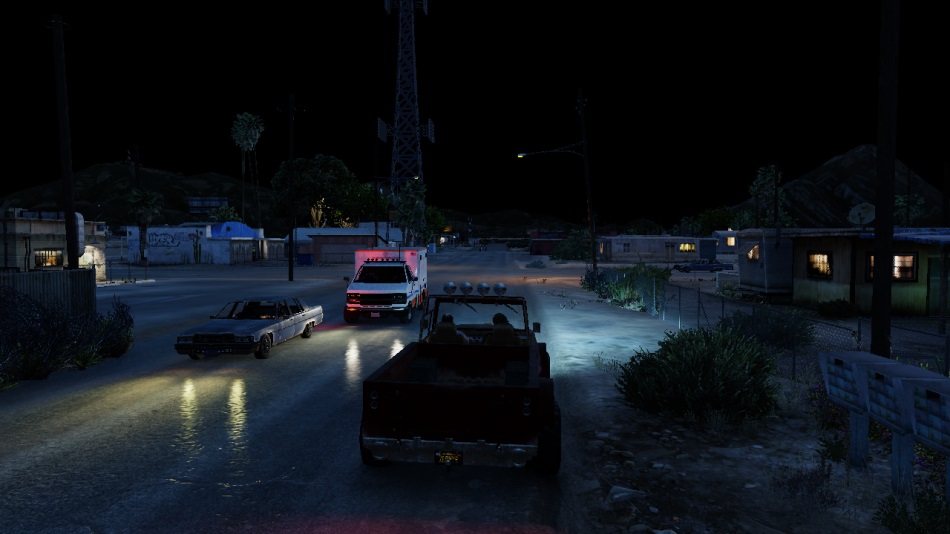
For each light source, a mesh is drawn: it’s originally similar to a tessellated octahedron but it’s modified by a vertex shader to match the shape of the light halo.

The mesh is not textured, the goal is just to touch all the pixels inside the light halo so a pixel shader can be invoked. The shader will dynamically calculate the lighting depending on the pixel depth, its distance from the light source, its normal, its specular/glossiness properties.
On the right is a wireframe view of the mesh used to calculate the influence of the lamppost light on the road.
Here you can see one big advantage a deferred pipeline has over a forward one: a large number of lights can be rendered in the scene, with pixel shaders invoked as little as possible, involving only the pixels really affected by the light source. In a forward pipeline, you would have to calculate at once the influence of many lights for every fragment even if the fragment in question is not actually affected by any light or end up later hidden by another one.
Well, since you made it this far, you can check-out the final part about post-effects.